Showing posts with label diy. Show all posts

10/12/12

Pinterest Friday...

Pinned Image
Sugar Bee Crafts
When I saw this dress I thought...perfect!
As my friends and family know I am vertically challenged...measuring in just over 5'1''...sad I know!
So to be able to make a dress that is long and fits me...yes please!
I also had a fun girls night coming up so I wanted it fast!!!

I ran to JoAnns and found some jersey type fabric...and I was very technical about measuring it.
I wrapped it around myself and rounded up. Always better to have extra then not enough!
 
Honestly, I followed Mandy's directions very carefully...I must have read them 20 times as I was doing this project. That's what happens when you are trying to sew as your 3 and 6 year old are running laps around you!
And I had to improvise a bit...
You'll get what I mean when you see the directions...I have a hard enough time sewing a straight line let alone cutting a perfect circle!
But in the end I loved it!!!
(photo from the only full length mirror in our house which is in our son's room)
(Picture care of my son)
I think all I need is a simple belt and it will be done!
One warning if you plan on making this dress...while I was shaping the top part and trying it on before attaching it to the bottom I was really worried it wouldn't fit.
I almost added some extra fabric under my arms...don't!!!
I decided to take a chance and see how it would all come together.
Because the material is stretchy you stretch out the top a bit to fit the diameter of the bottom. Just line up the seam in the back  and the front...pin it and pin it as you stretch it to fit around the bottom part of the dress. I have never had a dress that fit so well!!! Comfy!!!
I can't wait to do another one...
 
Thanks to Mandy over at Sugar Bee Crafts for the wonderful idea!

9/24/12

IDEAS!!

one thing has become abundantly clear since I had kids...design is not my forte.
i am one who has to live with things
so two years after having our living room gutted and redone (by the way it is beautiful) I am finally deciding on what to put on the walls
we feel like we are done moving rooms and settling in to life
I feel as though each room in our house is lacking a bit of style, a unique touch.
And the one room that keeps jumping out at me is the girl's room!
she is the reason I started this blog honestly
I wanted to share my thoughts on motherhood and everything that comes with it...especially how a tom boy can raise a total, 100% lover of pink!
So now I am ready to put in some of the style I love, a bit country, a bit shabby chic
I needed some good ideas
and what does any cyber loving girl do?? PINTEREST

Ashley over at Lil' Blue Boo that put together a great asortment of girly room ideas


I have two favorites...can you guess which ones they are??
Here's a hint, they have plenty of diy's to satisfy my love for crafty!

9/21/12

Pinterest Friday...Homemade Art

I love love love a good diy project...
Even more when it is something for the kids.
This was so easy that I just couldn't pass it up

My inspiration...
Pinned Image
Amy Lou over at Southern Belle Soul, Mountain Bride Heart has such an amazing story that goes along with her adorable heart art. I love the shabby chic look...and of course it's DIY!!!

Here's how I did it!!

Tools...
Paint and brushes
Canvas
Mod Podge
Scrap booking paper
Vinyl letters from target
A favorite saying or verse

Step 1:
Mod Podge your scrap booking paper on to the canvas (next time I will just paint the canvas...the paper was a bit more  noticeable than I wanted). And, let dry.
 

Step 2:
Once you have picked out your verse cut out the vinyl letters and take some time to plan out how you want the saying to look.


And, once you have it the way you like...peel and stick!

Step 3:
Now here is where you can let your creativity fly...paint over the letters!


Step 4:
Let it dry...we have had some great weather here in South Jersey for the last few weeks. Window opening, breeze coming in, sun warming up...so great weather for drying painting!!!!
When the drying is done peel the stickers off....


And the final product...


Our favorite thing to say to each other...from one of my favorite books "Guess How Much I Love You"...something we say everyday to each other.

I am not only in love with the final product...I love the letters that we peeled off...
Don't they look great!!!! I just think it will be great to mod podge them onto a smaller canvas...hmmm

Happy Friday!!!

8/24/12

Pinterest Friday...Kids Painting


So I know I have been MIA from my blog world for the last few weeks...We have been adventuring to say the least. From birthday parties, to a week long trip to Florida (which I did by myself with the kids), to beaching it up August has proven to be fun!!!
But even with all this...I was able to find time to a Pinterest find!!!!
While visiting a dear friend and her kids in Jacksonville, Florida, she wanted to do some kid art that we saw on pinterest. There are a few that I have seen, but here is a link to one site that I loved.
 
Attack of the Twins
Attack of the Twins
 
Totally cute right?? And makes me jealous that I do not have a Hobby Lobby near me!
 
All the materials you will need are:
Canvas any size you want
Painters tape
Finger paints
 
So as I was sewing away on a few sets of curtains (another post coming soon) my dear friend was preparing the canvases. She went for words that she wanted posted in her play room...I went for names.


Then we got the kids prepared!!!!
 
Put out something to protect the floors...And let them go to town!


 Isn't she adorable!!!
 
I sat them outside, and in the Florida sun, it took no time for them to dry!!! So we peeled up the tape.


Aren't they adorable...I will post when I finally hang mine and when I get pictures from Florida. We are in the midst of switching rooms to create a playroom. This will be the first things that go up to make it theirs!
 
And I couldn't resist adding this one...
 
I mean look at those beautiful eyes and how darn proud he is of himself! What a cutie pie!!!!
 
Happy Friday!


7/20/12

Pinterest Friday...Art board

Some months back I posted some inspirations I had found on Pinterest and some other sites. 
Cute
A little of this, a little of that
I saw this as an easy solution to a huge problem we had...where to put all those wonderful art projects my kids create. Especially with the oldest in kindergarten, he was bringing home so many art projects!
And it was such an easy project!!!
The original post came from "a little of this, a little of that"
Head over here and check out some other cute projects. It could become as addictive as Pinterest!

Here is how mine turned out
I used two pieces of scrap 2x4 I had laying round...when I hung them I just put them side by side to look like one long piece. I painted them white, because that is what I had sitting around just waiting to be used. I purchased the clips at Target. They are magnetic silver clips that come in packs of two. I also bought a hanging kit for the back of the boards.

1. Paint
2. attach the hanging kit on the back of the boards
3. use wood glue to attach the clips
4. hang

 See, super simple!
Honestly, with the amount of papers and crafts that come into this house I think I may need to make another one...that way each kid can  have one. They get very upset when I rotate in new art work and have to take down old ones. I love that they enjoy seeing their work!

Happy Friday!

7/1/12

Pinterest Seat Belt Pillow Tutorial


I know I mentioned in my last post that I am a details person...so I going to try and give as much detail as I can with this tutorial and I hope that will help with any confusion!
Here we go...

Materials needed:

Fabric. After reading through Super Jenn's post and the comments I learned that she bought a half a yard of fleece for the kids pillows and a full yard for her own (this will be a little bigger). So that is what I did with the girl in toe. We headed to Joanne Fabrics and picked out the prettiest (in her opinion) pink girly fabric and the greatest blue sharp print that we could for the boy. There was a great selection for the adult pillow but I found something...

Pillow case.  I used an old pillow case that I had laying around (made sure it was a light color because I didn't want it to show through the pink fleece). I think it was a standard queen pillow case.

Foam. Joanne's had pretty good size bags sitting in the back with all the regular foam...and be ready, this stuff is a MESS!!

Sewing machine and the such

Instructions:
Step one: cut the pillow case into sections. Lay the pillowcase length wise and cut it. Jenn's measurements were 24 inches x 6 inches...I decided to cut mine a little bigger (forgot I did this...)
Detail...so here was my first hiccup. I wasn't sure how to cut this pillowcase and make them into long tube like pillows. This may not be a problem for anyone else, but if you remember my previous post...I was working on little sleep and lots of distractions. So I had to stand back and see that if I cut from the cuff (the opening) of the pillow I would get the long pillows.
{the cuff is where the rotary cutter is sitting}
So I cut two strips about 6 1/2 inches-7 inches...the left over is the one that I made for the adults!

Step 2: Flip them inside out, pin in place, and sew up all open long sides. (the one on the left will only needs the cut side sewn and the middle one needs two sides sewn) Leave the cuff open to fill with the foam. Flip the pillowcase right side out.
Step 3: Fill with the shredded foam...warning this is going to be messy! I used a large kitchen serving spoon to get the foam down all the way to the bottom of the cases.
Keep stuffing....
and stuffing....
until it is all the way to the top!
Step 4: I folded the top of the pillow over, pinned it closed, and sew a straight line across...
And, for me the easy part was over.

Step 5: Begin the cover for the pillow...this will be a soft snuggly and the part that will attach to your seatbelt. This is where the lack of sleep and distractions became an issue.
I didn't read the directions by Super Jenn very well so I just took my fabric and laid it on my cutting board under the pillow to see how much I would need. I folded it half and cut it down the middle. This gave me two peices...(so I should have remembered that I cut the pillow case somewhere between 6 and a half inches and 7 inches...that way I would have known to cut the panels around 9 inches wide..but lack of sleep and distractions!)
Step 6: The directions by Super Jenn said to cut four 6x6 inch squares (again if I remembered that I cut the pillowcase bigger than her orginal measurements I would have made these bigger, but I didn't). But I did cut the squares and folded them with the right side out and sewed along the short sides of each of them. I call them tabs now.

Now this is where I got caught again...I couldn't tell from Super Jenn's post where to put the tabs. I origanlly put two of them together between the seams...when I looked at it I just couldn't figure out how it was going to attach to the seatbelt and hold it in place. Well, after sewing both side of the case I realized...I did it wrong!
And I sat for an hour using a seam ripper to take it all apart!

So I took a breath! and layed out all of the pieces...
Step 7: First lay down one of the long panels with the right side facing you.
Next lay the tabs on top of the first panel...two of them on each side spaced about three inches apart with the unsewed long side matching the panel's raw edge. And match the other two tabs across from the first two and line up the raw edges.
Hint: you may want to lay down the stuffed pillow you just finished next to the panels with the tabs on it. Make sure the tabs are close to the middle of the pillow. I made the mistake of putting them too close to an end with my second pillow. I will be fixing that.

Finally, lay the second panel face down on top with all the raw edges matching up and pin them in place. The tabs will be inside the panels, but don't worry you will be turning it inside out.

I'm so sorry that I didn't get a picture of this...frustration was mounting and I just wanted to get it done! Again, this step should have clued me into the fact that something was wrong...the tabs that are across from each other should have overlapped. This is where the velcro goes to attach to the seatbelt.
And I sewed the two sides with the tabs and one short side. The open side will be where the pillow will slide in.
Turn the cover inside out.
This is how it should look
Step 8: I cut a piece of velcro to size of the tabs...again  matching the tabs on the top of the picture to the tabs on the bottom. The tabs will be overlapping so make sure you place the velcro like that. (see picture below of final product)
Pin them in place and sew...
Now just put your stuffed pillowcase in the cover and your almost done....

I had a bit of material and was trying to figure out how to close the end so the kids wouldn't mess with the pillow inside. For right now I just folded it inside of itself...


Notice how the tabs overlap!

I am planning on putting a button on it just so it stays closed, but that's it. This may be the longest post I have ever done but I just wanted to make sure I gave you as much detail as I needed to get this done.
Again if you can sew a straight line, and have a lot of patience, you can do this!

Confession...once I started my daughters, I got a little cocky and thought I was going to get it done in no time! Not a chance. I actually made the cover way too small and had to completely start over. At one point I put the whole project in a corner and gave myself a time out! 
Once I was done I got to work and she ended up with a great one too!


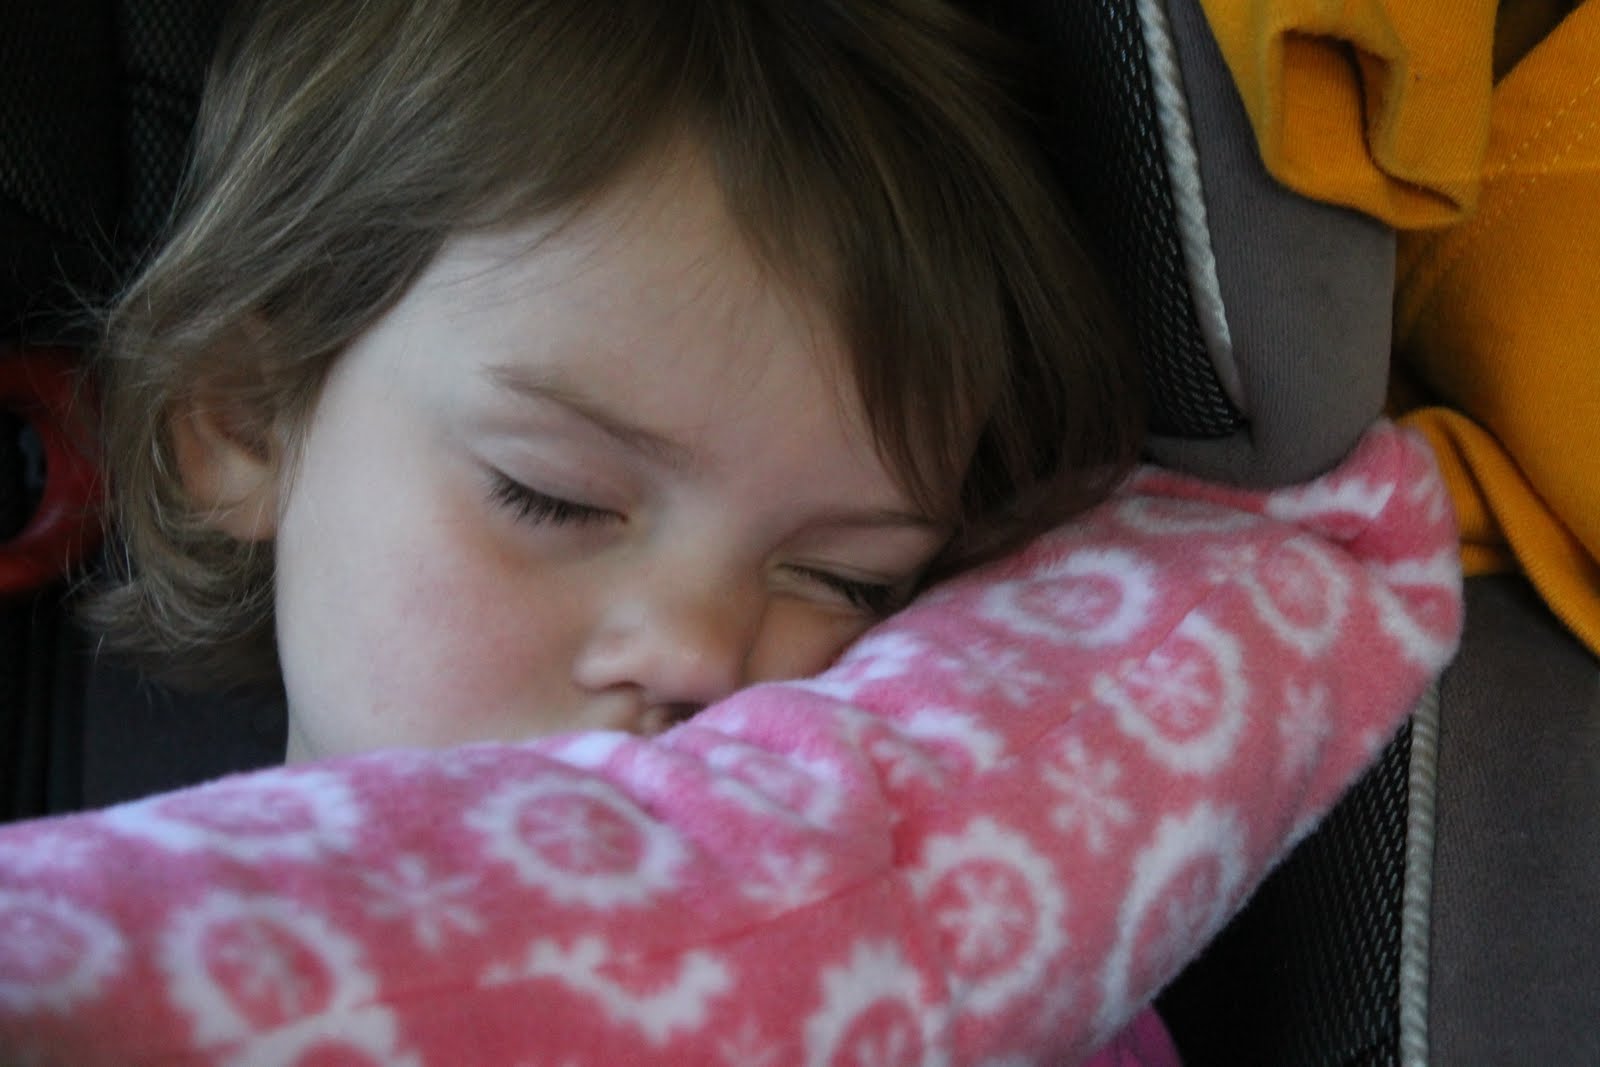
And so far they have been great to have...whether as a pillow or just something to cuddle with!
Hope this helped.
Check out Super Jenn here
I loved this idea and I hope my mistakes  help your project go smoothly!