Showing posts with label painting. Show all posts

9/21/12

Pinterest Friday...Homemade Art

I love love love a good diy project...
Even more when it is something for the kids.
This was so easy that I just couldn't pass it up

My inspiration...
Pinned Image
Amy Lou over at Southern Belle Soul, Mountain Bride Heart has such an amazing story that goes along with her adorable heart art. I love the shabby chic look...and of course it's DIY!!!

Here's how I did it!!

Tools...
Paint and brushes
Canvas
Mod Podge
Scrap booking paper
Vinyl letters from target
A favorite saying or verse

Step 1:
Mod Podge your scrap booking paper on to the canvas (next time I will just paint the canvas...the paper was a bit more  noticeable than I wanted). And, let dry.
 

Step 2:
Once you have picked out your verse cut out the vinyl letters and take some time to plan out how you want the saying to look.


And, once you have it the way you like...peel and stick!

Step 3:
Now here is where you can let your creativity fly...paint over the letters!


Step 4:
Let it dry...we have had some great weather here in South Jersey for the last few weeks. Window opening, breeze coming in, sun warming up...so great weather for drying painting!!!!
When the drying is done peel the stickers off....


And the final product...


Our favorite thing to say to each other...from one of my favorite books "Guess How Much I Love You"...something we say everyday to each other.

I am not only in love with the final product...I love the letters that we peeled off...
Don't they look great!!!! I just think it will be great to mod podge them onto a smaller canvas...hmmm

Happy Friday!!!

6/8/12

Pinterest Friday....Mess Free Finger Painting!

I love finding new ideas for kid friendly activities...there are plenty all over Pinterest. When I saw this one I immediately thought what a great independent activity.
Go check out the Hippie Housewife where this pin came from!

It could keep the kids busy while I did laundry, the dishes, cleaned the bathroom, made dinner, or...blogged!
I thought I could use just about any type of paint I had laying around because it would never touch their hands or clothes.
So I gave it a try!
I got two gallon size ziplock bags and some masking tape. I put in a good amount of some paint I had from the nightlight canvas I did a few weeks ago. {if you missed that one check it out...we are still in love with them}
Not kid friendly paint necessarily but what could go wrong??


This was really a great activity...but I seem to have extremely curious children {not a surprise to me at all!} Notice the tape in the last few pictures. After "painting" for a few minutes they wanted to see what happened when they rubbed the plastic with their fingernails and pressing hard. As annoying as that was I don't ever want to squish their curiosity. It really is a strong part of who each of them are and I love every aspect of them! Next time I will use a washable paint instead so I don't have to be so crazy if they get holes in the bags!

6/4/12

Chalkboard paint

Recently I have become a bit obsessed with chalkboard paint. I have some grand plans to decorate my kitchen with an area just for chalkboard paint...but for now I completed two much smaller projects.

The first was part of our Mother's day gifts for my grandmothers and mom...I saw the most adorable painted pots on pinterest {the two above...aren't they so cute? I actually have two sitting on my front porch modeled after them.}
So I decided to give it a try and they came out just so darn cute!!!
~I love love love them~
My second project was making an old table...

                                 New again.
 Up first was so cleaning!!
 and a little tightening of some old screws!
 then sanding!
 And of course...keeping the girl busy!

 Loved the outcome!!!!
And so did the kids!

So what would you paint with chalkboard paint if you could?????


3/17/11

That Pink Room

Let the painting begin...
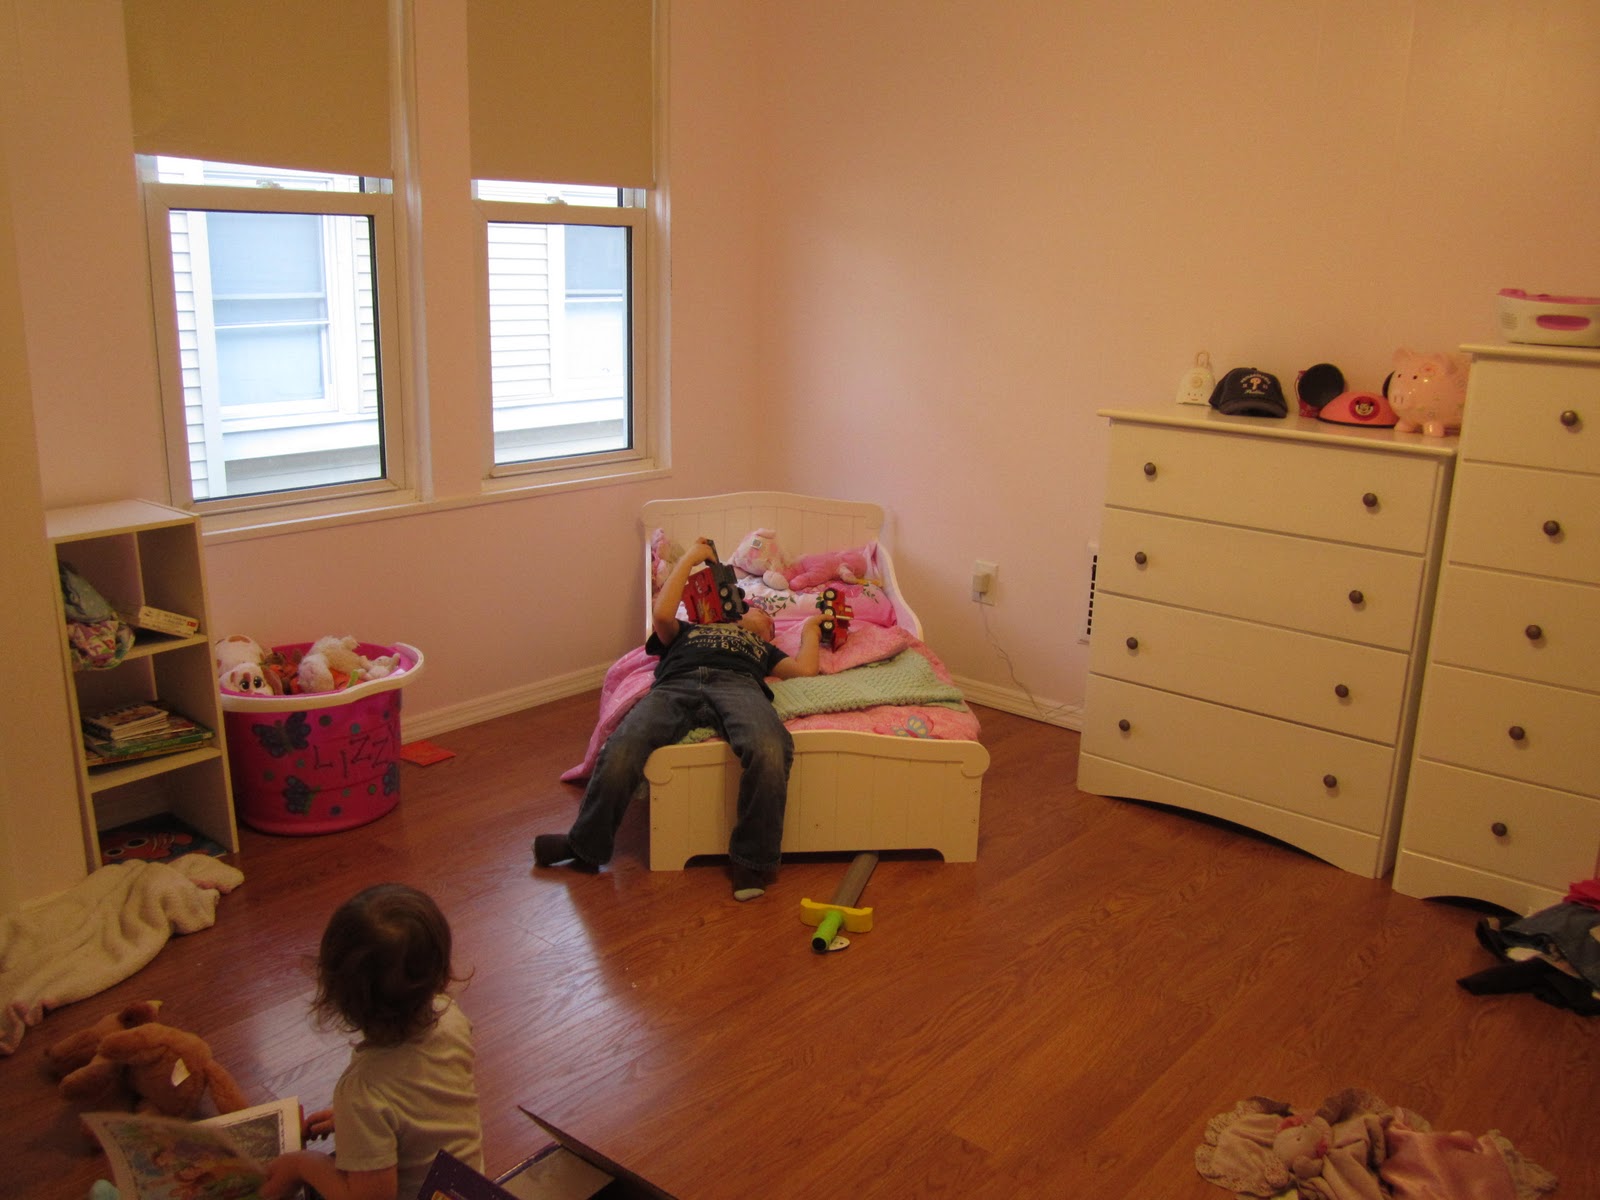
Okay so here are some pictures showing the transformation of my bedroom to a princess room. The wall on the left is what the room looked like previously. We wanted a warm feeling to our room so we choose a very warm golden yellow and heavy curtains on both the windows and closets. But now it is going to all change.

Here you can see how very pink the room is going to be....Lizzy was very excited!!! and it was just one wall.

So after only one day of painting, with a lot of help from my sister in law, Janice, who occupied Lizzy so that I could spend the morning painting. It was hard to get all this done, especially after I picked Jake up from school. It was a no-nap day...

But I was desperate to get Lizzy out of Jake's room and into her own room again. We had spent two weeks trying to get the kids used to sleeping in the same room. But with bedtime not occuring until 10:30PM Jeff and I had enough. Both kids seemed to feel a bit displaced so again, I was desperate to create Lizzy's area and get Jake his space back.

Both of them enjoyed having another room to run around in....

and explore....

and destroy...but really what else is new???

It took another day to get the dressers moved around and filled. Actually these are my dressers but since Lizzy's dressers are stuck in the nursery with ALOT of junk cornering them right now, I decided to just use mine for her for now. I had this nagging feeling that I just needed to get her settled.

So here are the closets....the joys of having older homes sometimes is that you have the most random things like 2 built, not orginal to the house, closets right next to each other. The closet on the right has dry wall on the left side and back. The right side, that is not in the picture, however is panelling like the rest of the room. So I am planning on leaving this side open and eventually putting some toys in here. And I am making use of the sweater hanger for stuffed animals and the like.
The other closet will be her actual closet for her clothes...and since the rod is very high they will still be able to use the bottom of the closet as a hiding area which is one of their favorites things to do. I will be replacing the ugly green curtain with something a bit more mod.

Right now everything looks very plain but I am working on creating some homemade/restored furnishings as the Spring goes on.

One thing that I have really been amazed with since we have moved Lizzy out of Jake's room and into her own is how well the both of them have been sleeping. My kids have always been pretty good sleepers but they are also extremely social so having them in the same room together just amplified that! I love how much they like to be together but I have also been challenged to see that they need time apart. Learning as I go people!!! And loving every minute of it.